Your first mint
One pass through datamint.ing: sign in, write a codebook, upload documents, mint, read the results, and download the spreadsheet.
Start with five to ten documents you know well. You will check what the readers did with each one. That is easier when you know the answers.
1. Sign in
- Go to datamint.ing.
- Click Get started.
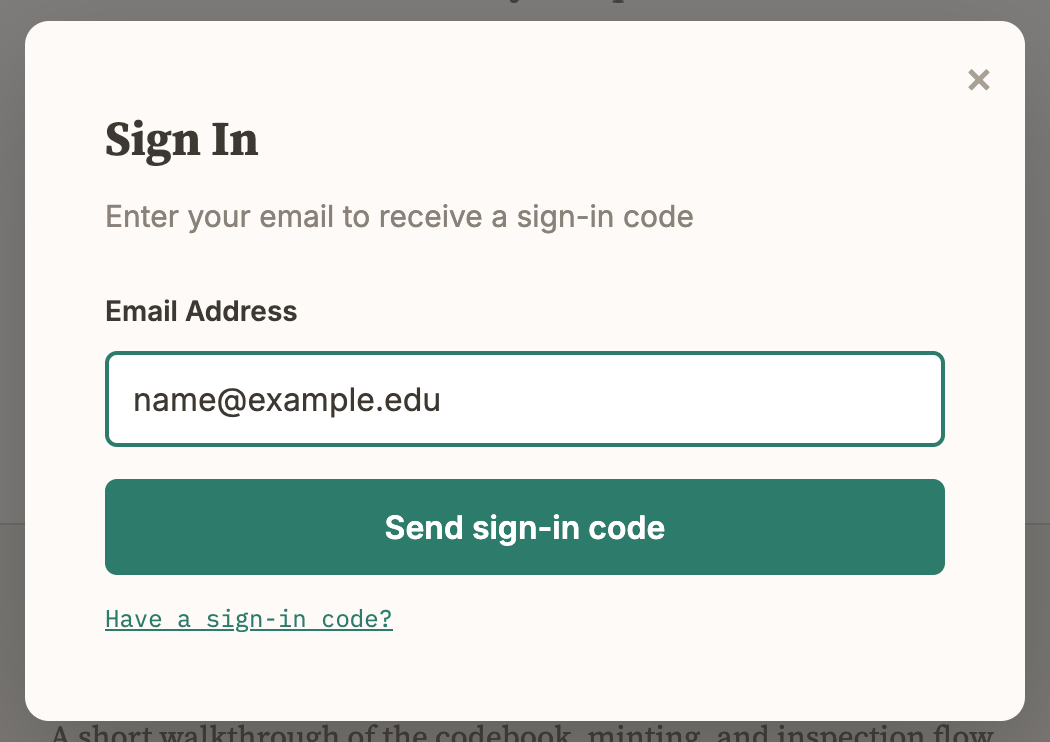
- Type your email address. Click Send sign-in code.
- Open the sign-in email. Find the six-digit code.
- Type the code into the box on the site. Click Sign in.
The site opens your projects page.
The code works once, for two hours. Read it on any device, and type it into the browser you will work in. If no email comes within a few minutes, look in your spam folder. Some university mail servers drop our email. If yours does, use a personal address.
2. Create a project
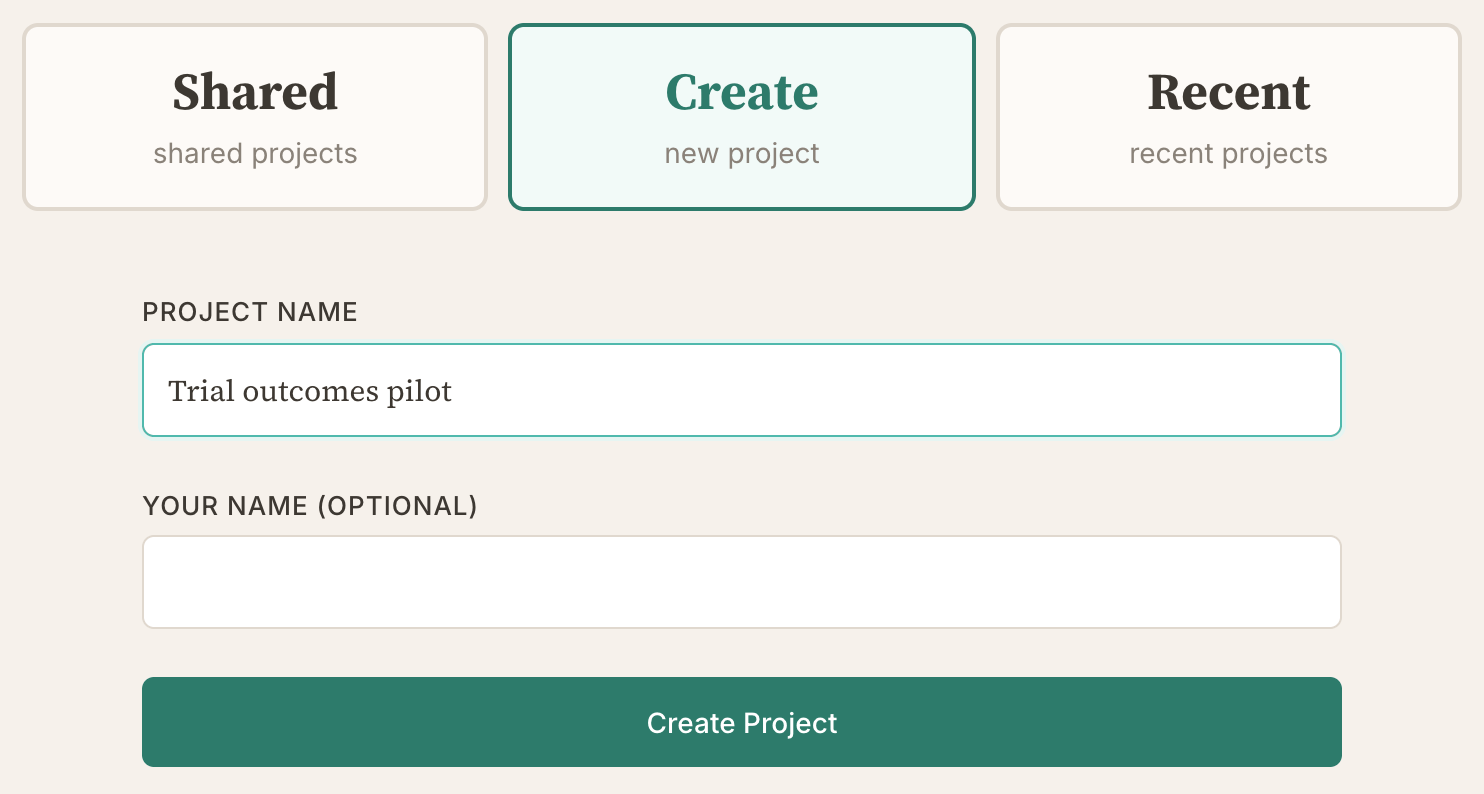
A project holds your documents and your codebooks.
- Type a name under Project Name.
- Click Create Project.
The site opens the codebook page for the new project, with the codebook assistant ready.
3. Write the codebook
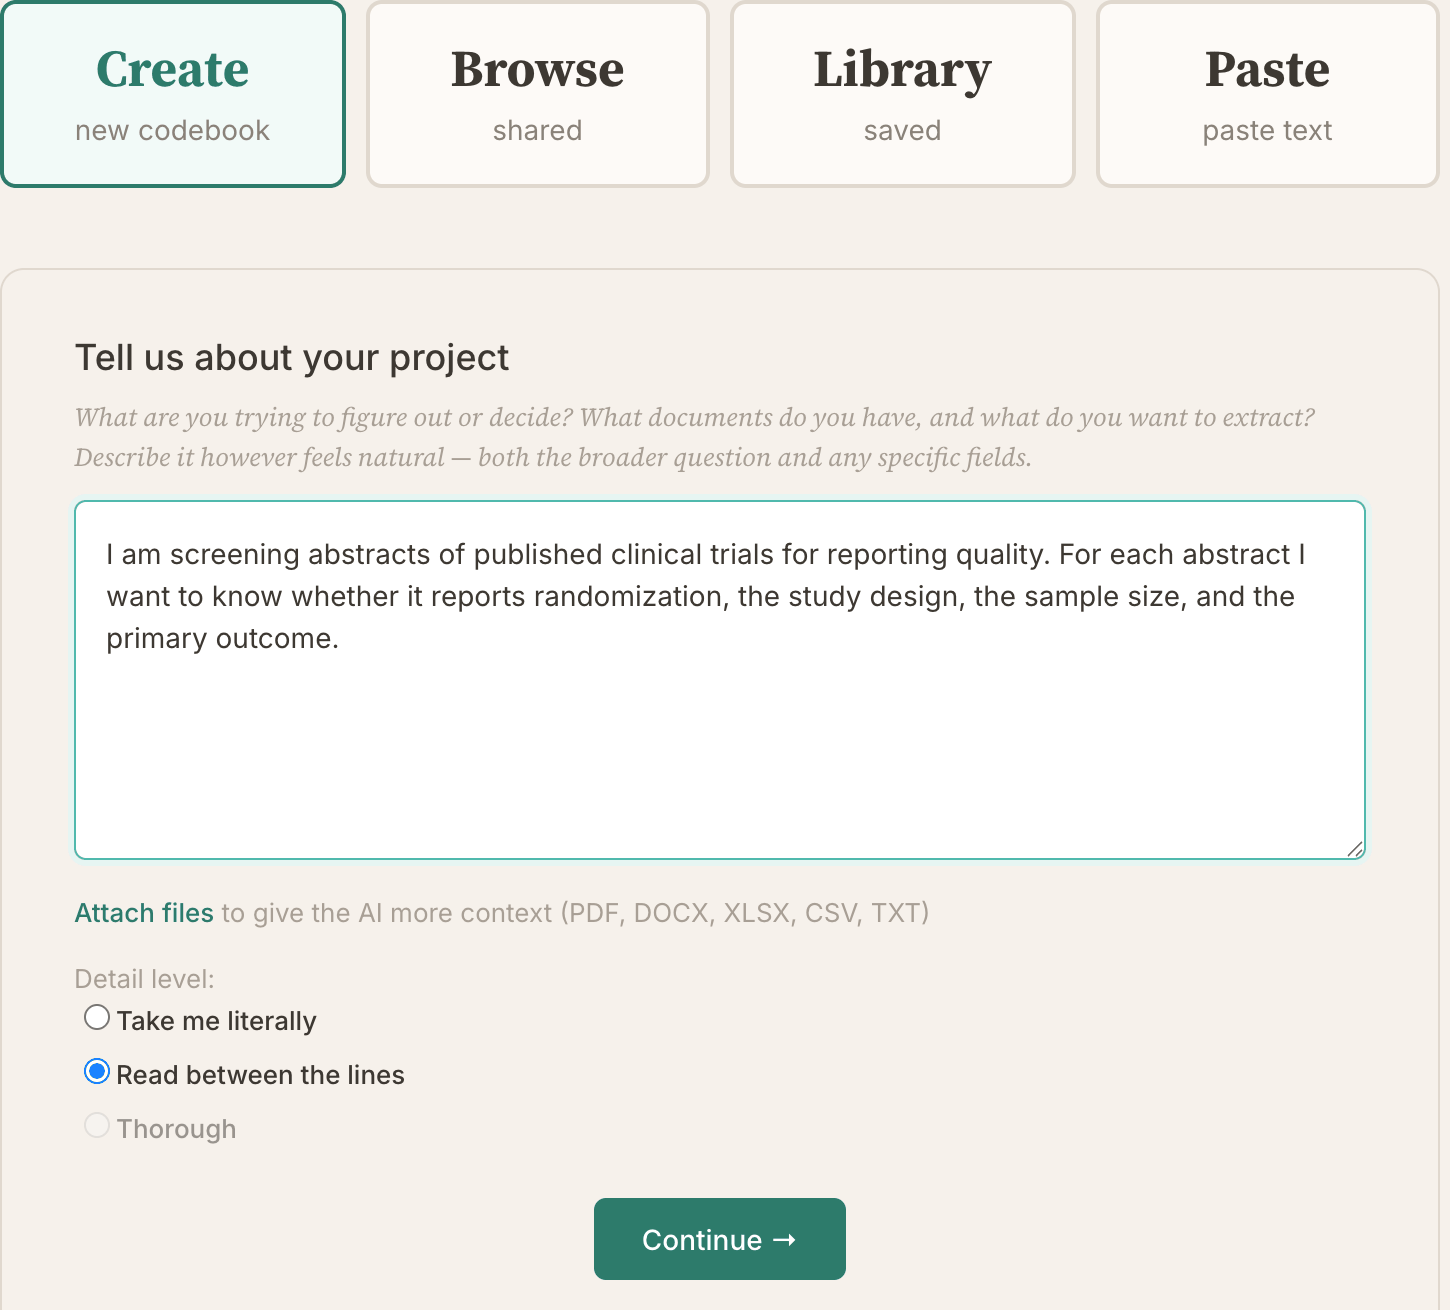
The codebook is the list of questions every reader answers about every document, with the instructions for answering them. Each question becomes a column in your spreadsheet. This is the part of the work that is yours. Most of your time goes here. Craft the codebook says what a good entry has to do.
- In Tell us about your project, describe what you want to find out and what the documents are. Write it the way you would explain it to a colleague.
- To give the assistant a paper that defines your terms, or an example document, click Attach files.
- Leave Detail level at Read between the lines.
- Click Continue →.
- Read the Clarifying Questions. Type your answers under Your Answers. You can skip a question, but the codebook is better when you answer. Click Continue →.
- Read the Proposed Fields. Each field becomes one column.
- To change the fields in words, click Reply / Revise, describe the change, and click Apply Changes.
- To change the fields yourself, click Edit Directly.
- When the fields are right, click Looks perfect!
- Wait for the full codebook to appear under Your Codebook, and for the line Codebook ready above it.
- Read any Hints. A Hint marks a place where the assistant inferred something you did not say. Click Direct Edit to change anything.
- Click Check Template if it shows. Then click Use this template.
The site saves the codebook and opens the minting page. The button says "template". It means the codebook.
4. Upload documents
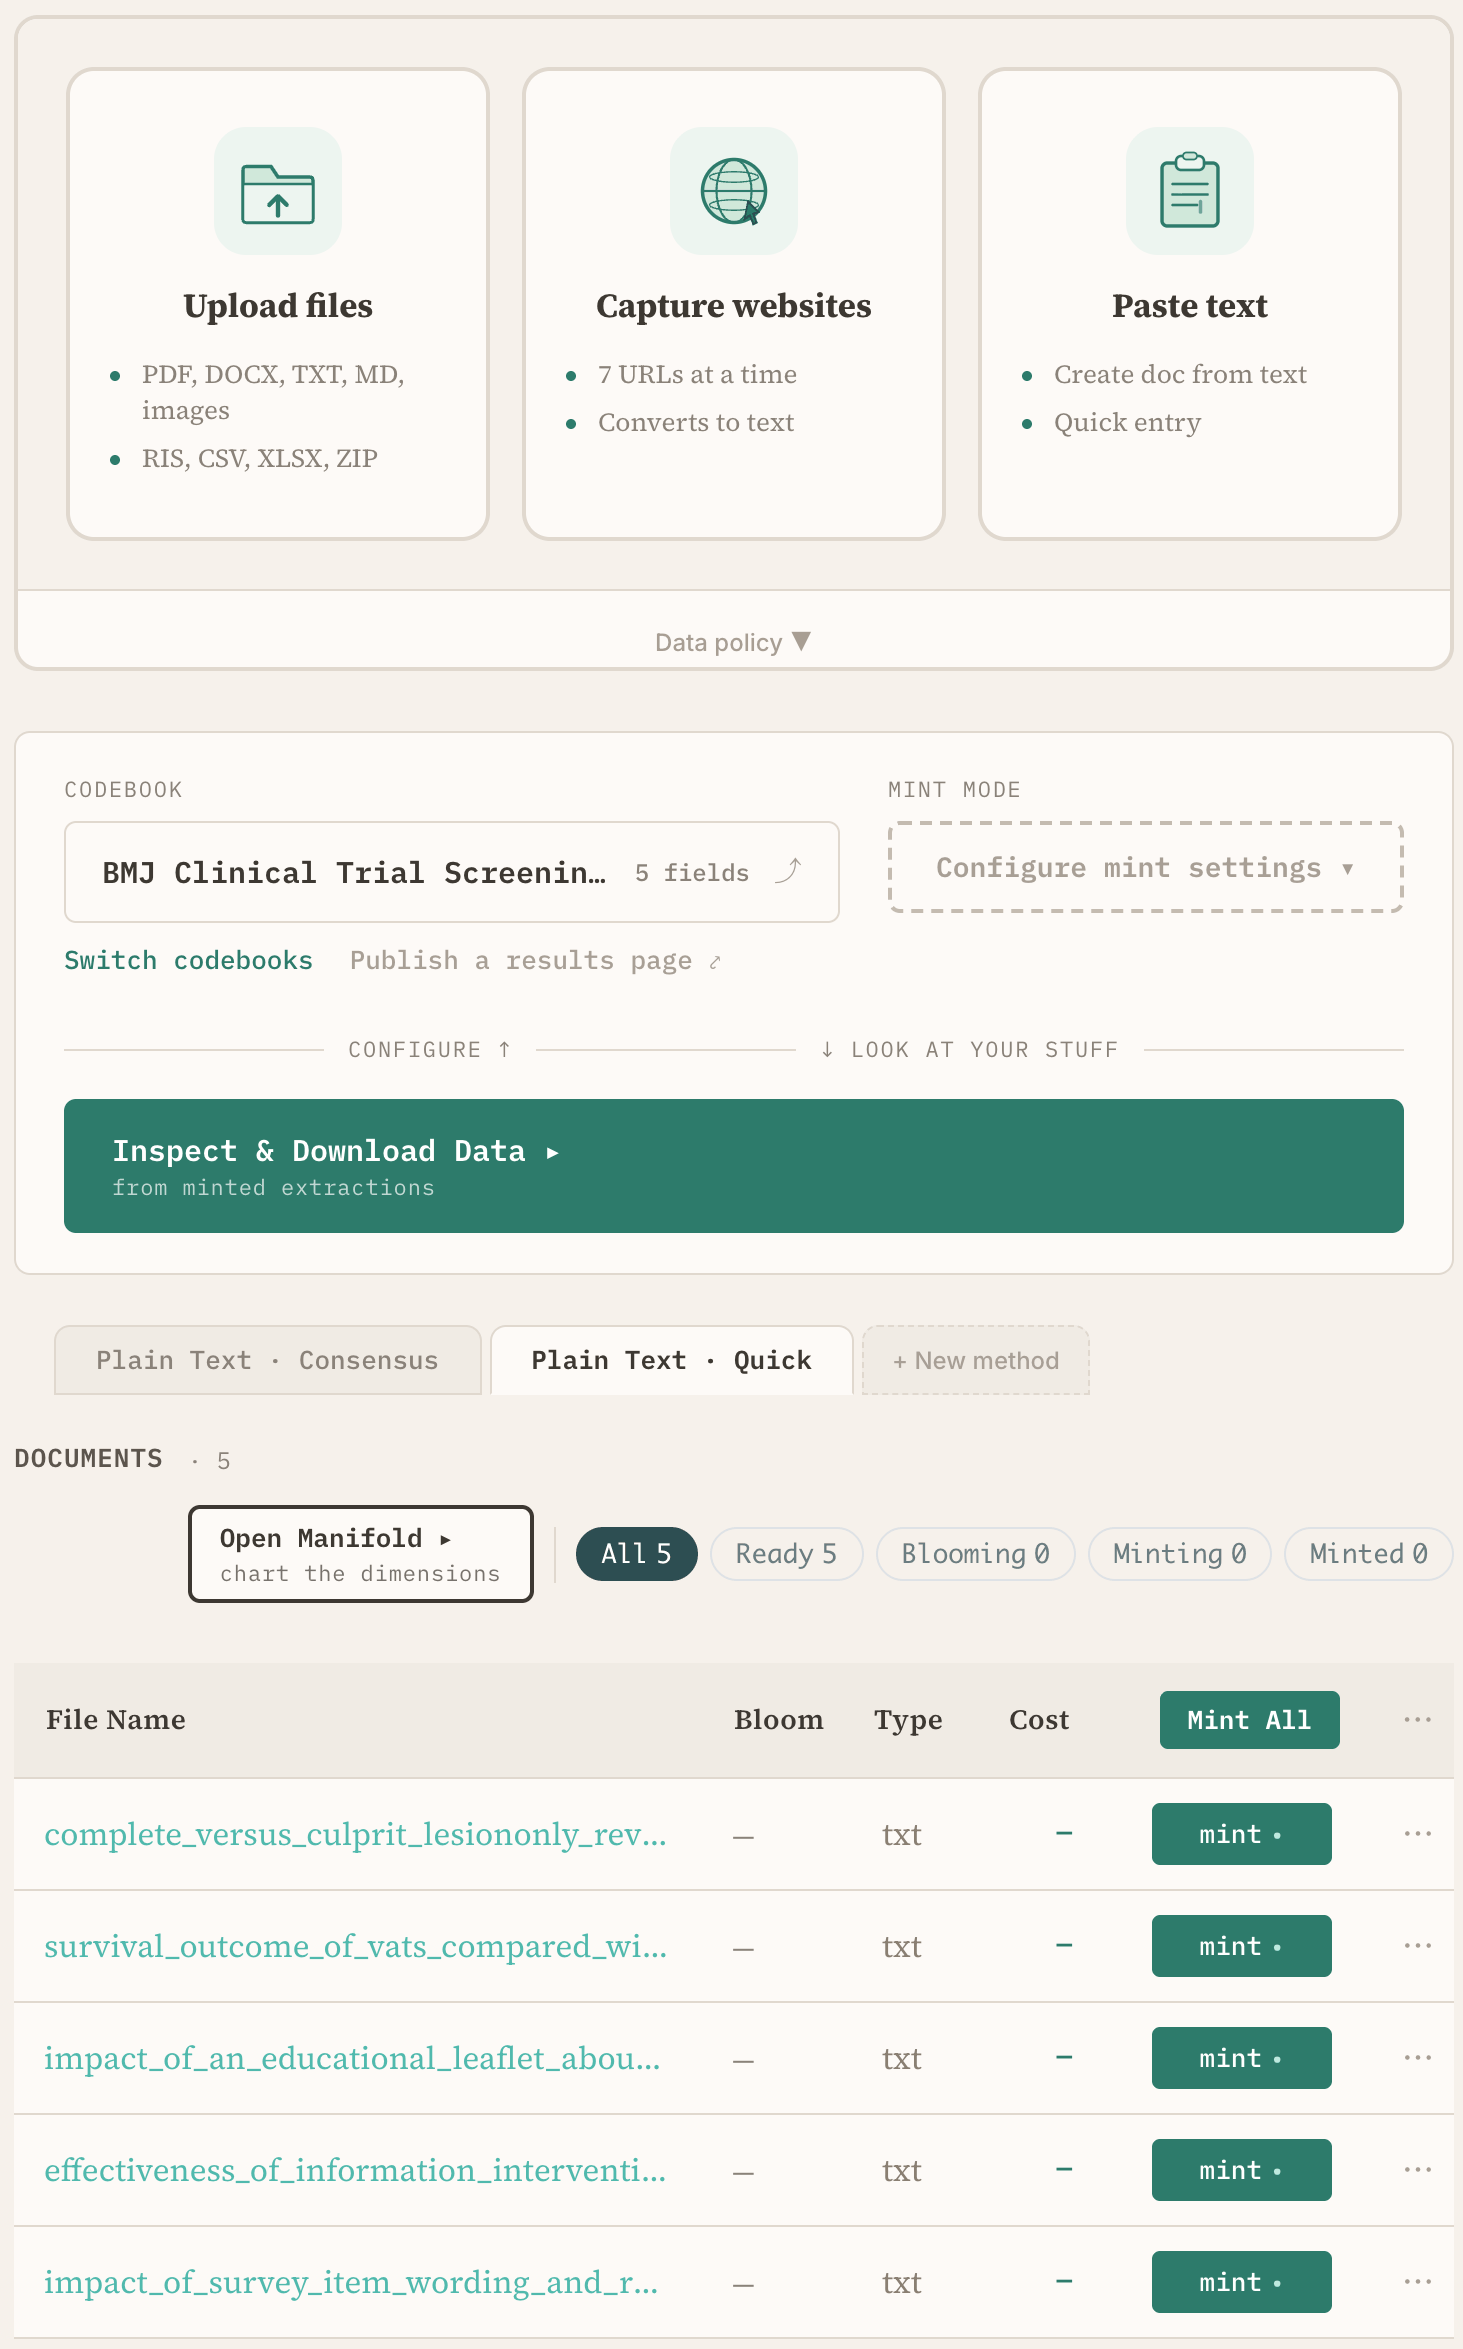
- Click Upload files and choose your documents. You can also drag files anywhere onto the page.
- Stay on the page while it says Uploading documents....
- Check that every document appears in the list.
Each file becomes one document: PDF, Word (.docx), text, Markdown, and images. Two kinds of file work differently.
- A spreadsheet or citation file (CSV, Excel, RIS) becomes one document per row. The site shows the first row and asks whether it holds column names. Check it, then click Import … Documents.
- A zip file becomes one document per file inside it. Click Import ZIP to confirm.
A PDF marked Scanned is a picture of a page with no text in it. Mint it with Vision in the next step. The mark is sometimes wrong. Click the document and read its text to check.
5. Mint
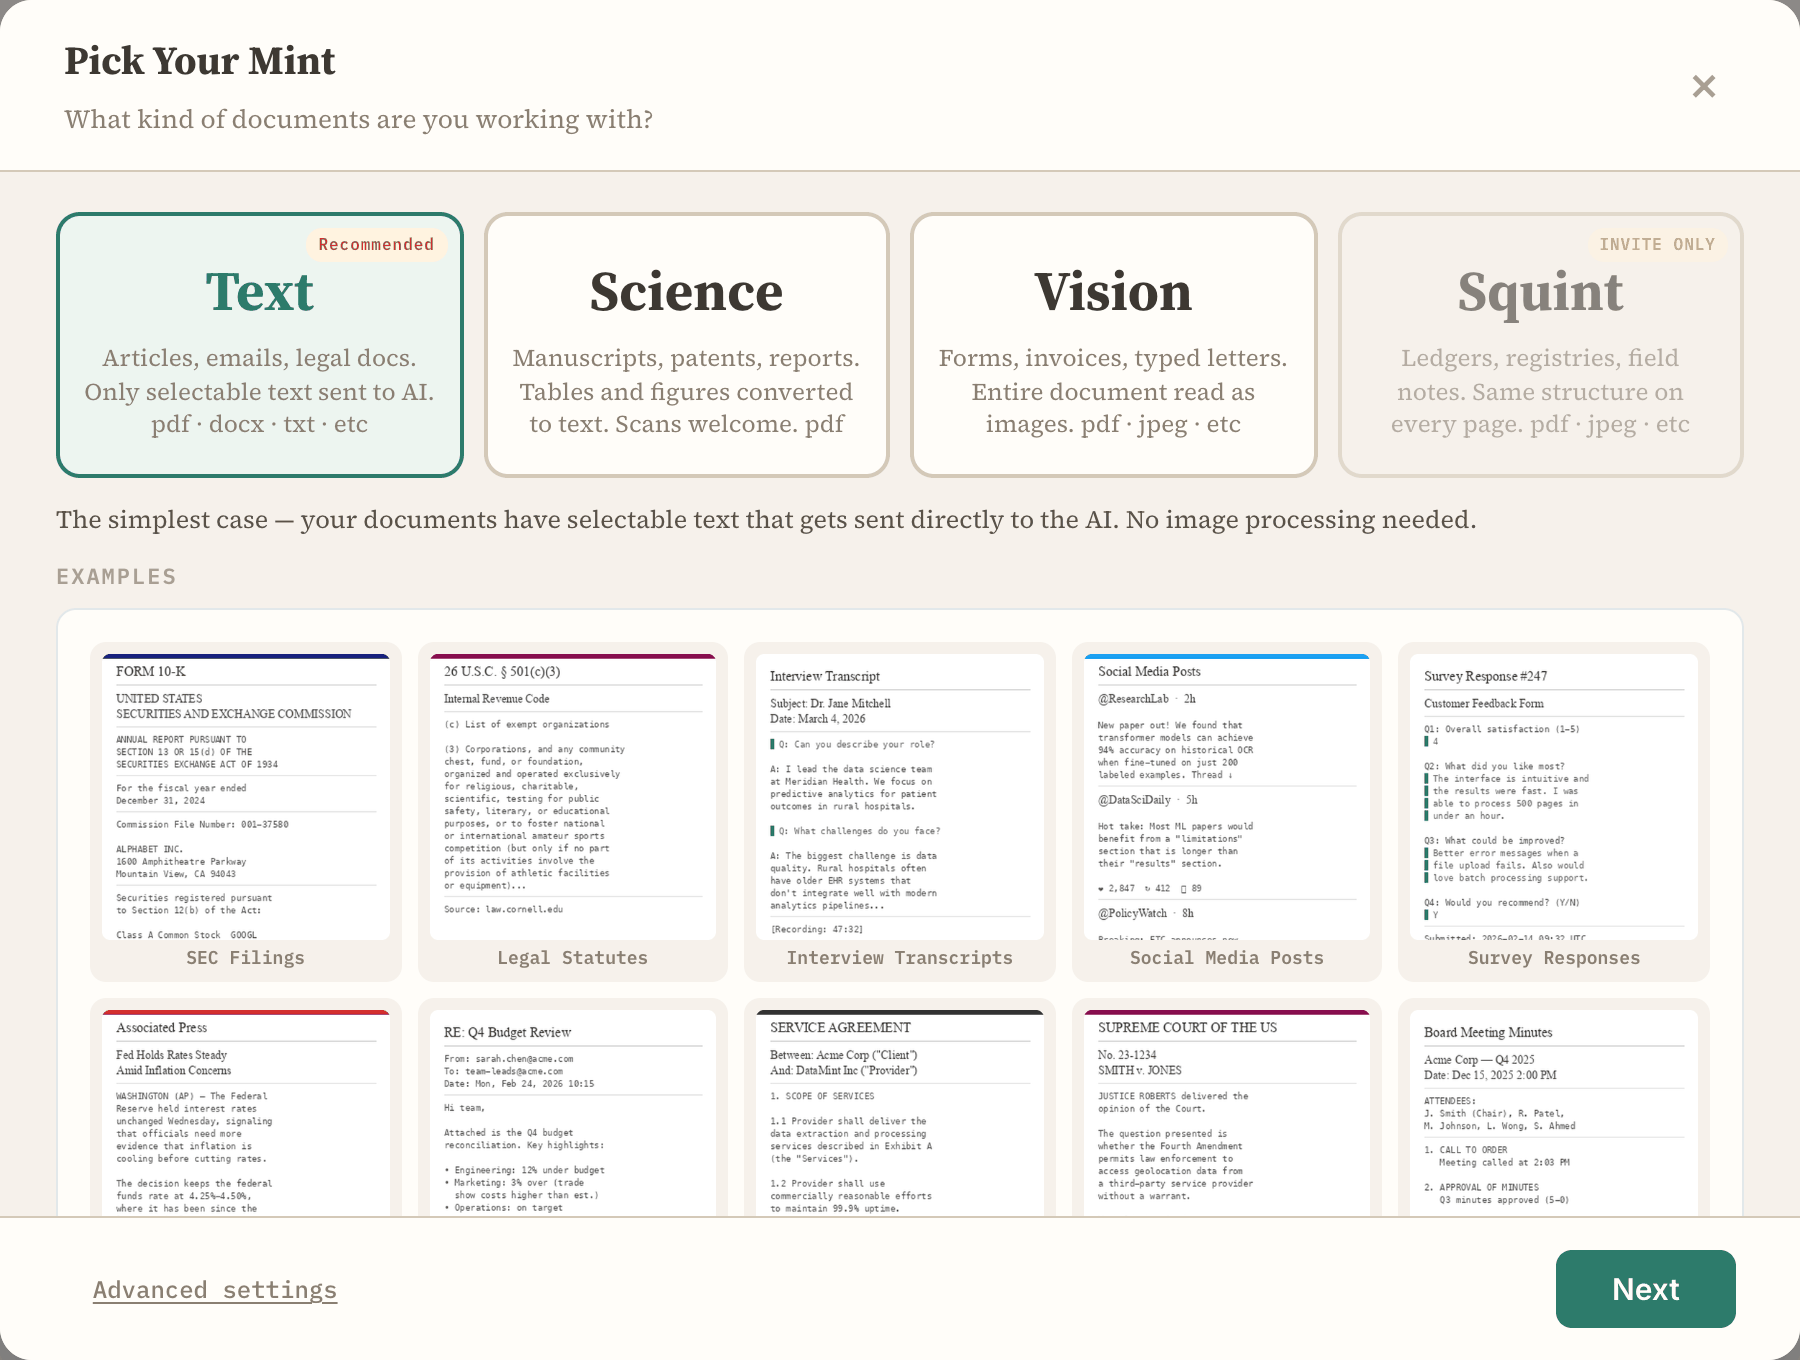
- Under MINT MODE, click Configure mint settings ▾.
- Pick the card that matches your documents. Click Next.
- Text for articles, reports, and letters with text you can select.
- Science for papers with tables, figures, or equations.
- Vision for scans, forms, and images.
- Under Purpose, choose Consensus Mint.
- Leave Pro tier off. Turn it on only for very long documents, or for a codebook with twenty or more items.
- Click Use this.
- Read the Cost column. It shows what each document costs, in mints.
- Click mint on five to ten rows.
Each mint setting gets its own tab above the document list, such as Plain Text · Consensus. Each row shows minting… and then minted. On a quiet day a consensus mint of a 25-page article takes 3 to 8 minutes. What to expect covers busier days, cost, and what to do when a row stays at minting….
In a consensus mint, three readers read each document, each on its own. An arbiter then compares their answers and marks where they differ.
Wait on Mint All until the codebook is settled. If the configure controls do not show, set the browser zoom to 100%.
6. Read the results
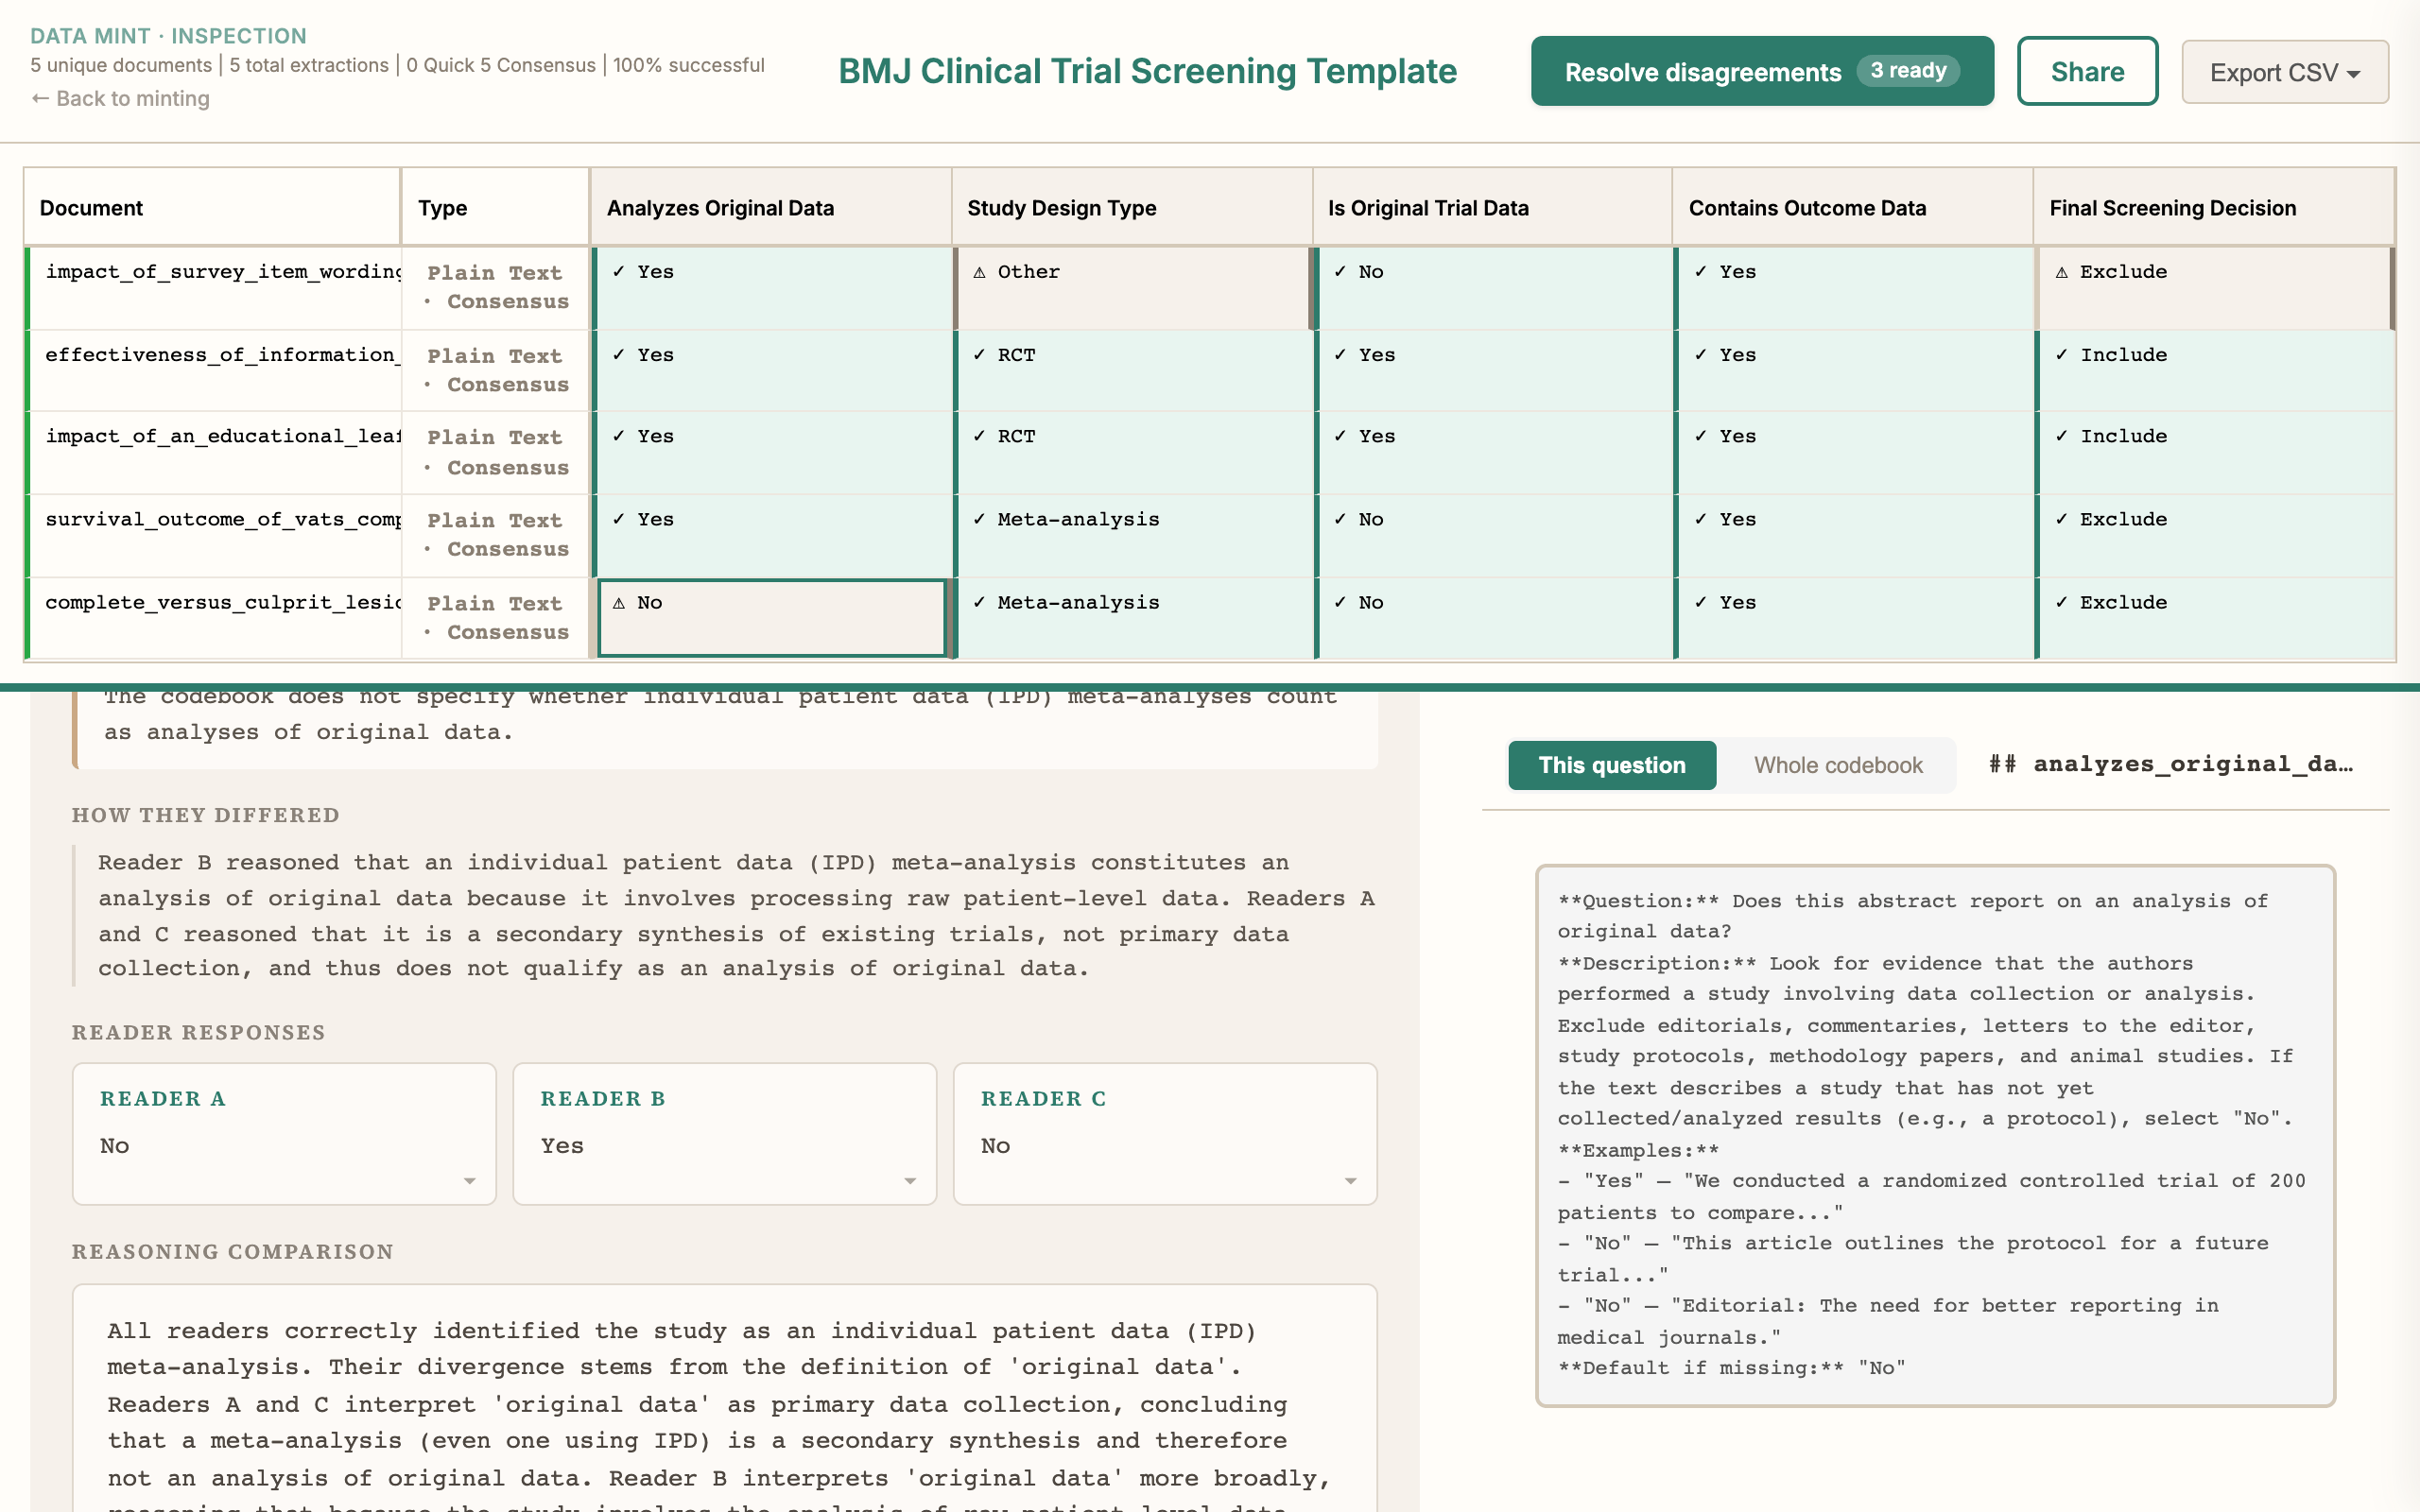
The inspection page has one row per document and one column per codebook question. ✓ marks a cell where the three readers agreed. ⚠ and ✗ mark cells where they did not.
- Click Inspect & Download Data ▸. The inspection page opens in a new tab.
- Find the cells marked ⚠ or ✗.
- Click one. The panel below the grid opens.
- Read the three Reader answers and the section How they differed.
- Click a reader's card to see its Key quote and Reasoning.
- Click the document name to read the document itself.
A disagreement usually means the codebook can be read two ways, and the readers took different ones. Sometimes one reader made a mistake. The quotes and reasoning show which. You decide.
7. Improve the codebook
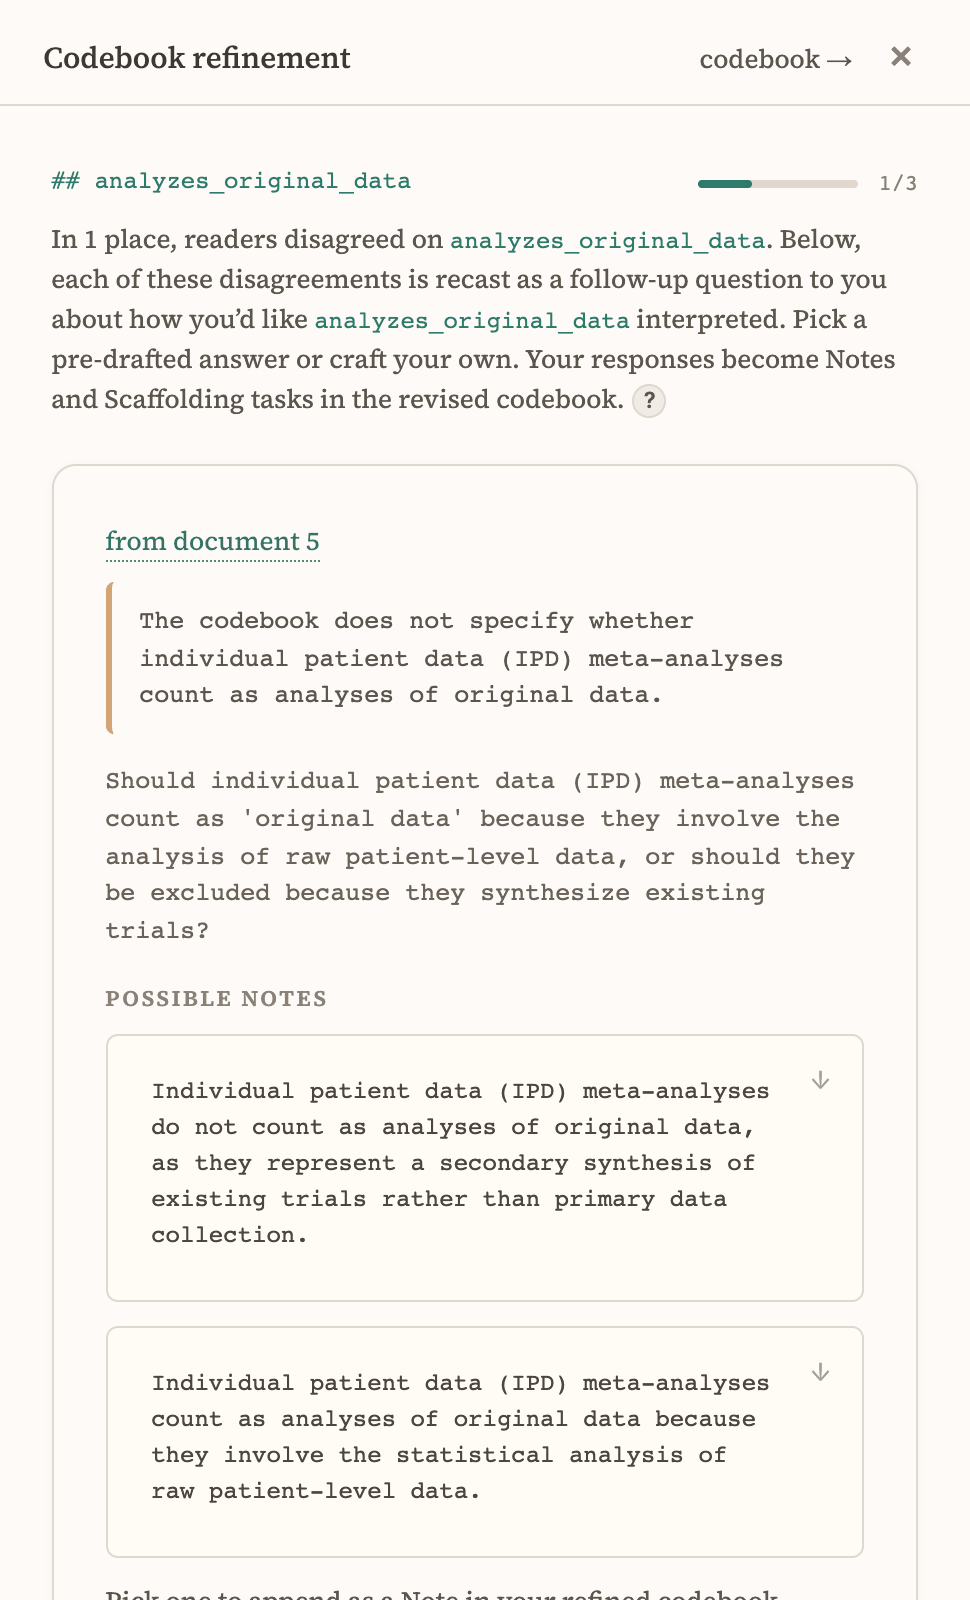
- Click Resolve disagreements. The Codebook refinement panel opens.
- Click Next →.
- For each question, pick one of the Possible Notes to add to the codebook. Edit it first if the wording is not yours. Click skip for now to leave a question as it is.
- At the end, choose what to do with the new version.
- Click save & pick new documents to mint → to test it on documents it has not seen.
- Click Re-mint your documents to run it again on the same documents. The button shows the cost.
Each round saves a new codebook version. The old version keeps its results. On the minting page, Switch codebooks moves between versions and deletes nothing.
Agreement on the documents you revised against flatters the codebook. Judge it on fresh ones. When agreement is high there, mint the rest with Mint All. It shows the total and your balance before anything runs.
8. Download the spreadsheet
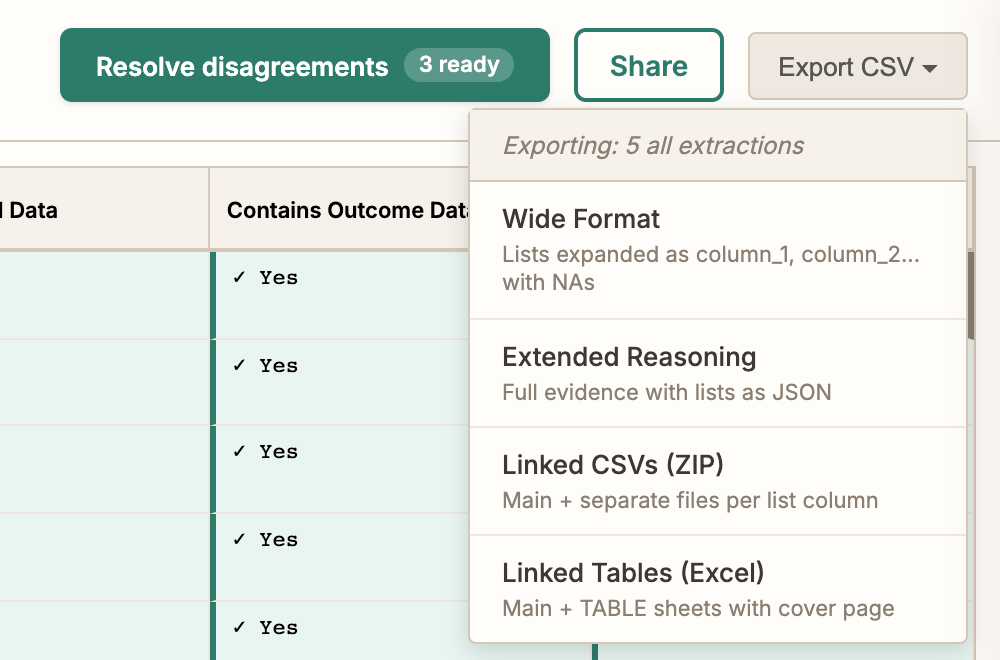
- On the inspection page, click Export CSV ▾.
- Choose a format.
- Wide Format: one row per document, one column per question. A list answer is spread across numbered columns.
- Linked Tables (Excel): for a codebook with tables. Each table gets its own sheet.
- Your spreadsheet + results: shows only when you uploaded a spreadsheet. Your columns and row order come back with the answers added.
The export carries one answer per cell. The readers' disagreements, quotes, and reasoning stay on the inspection page.
9. Share the results
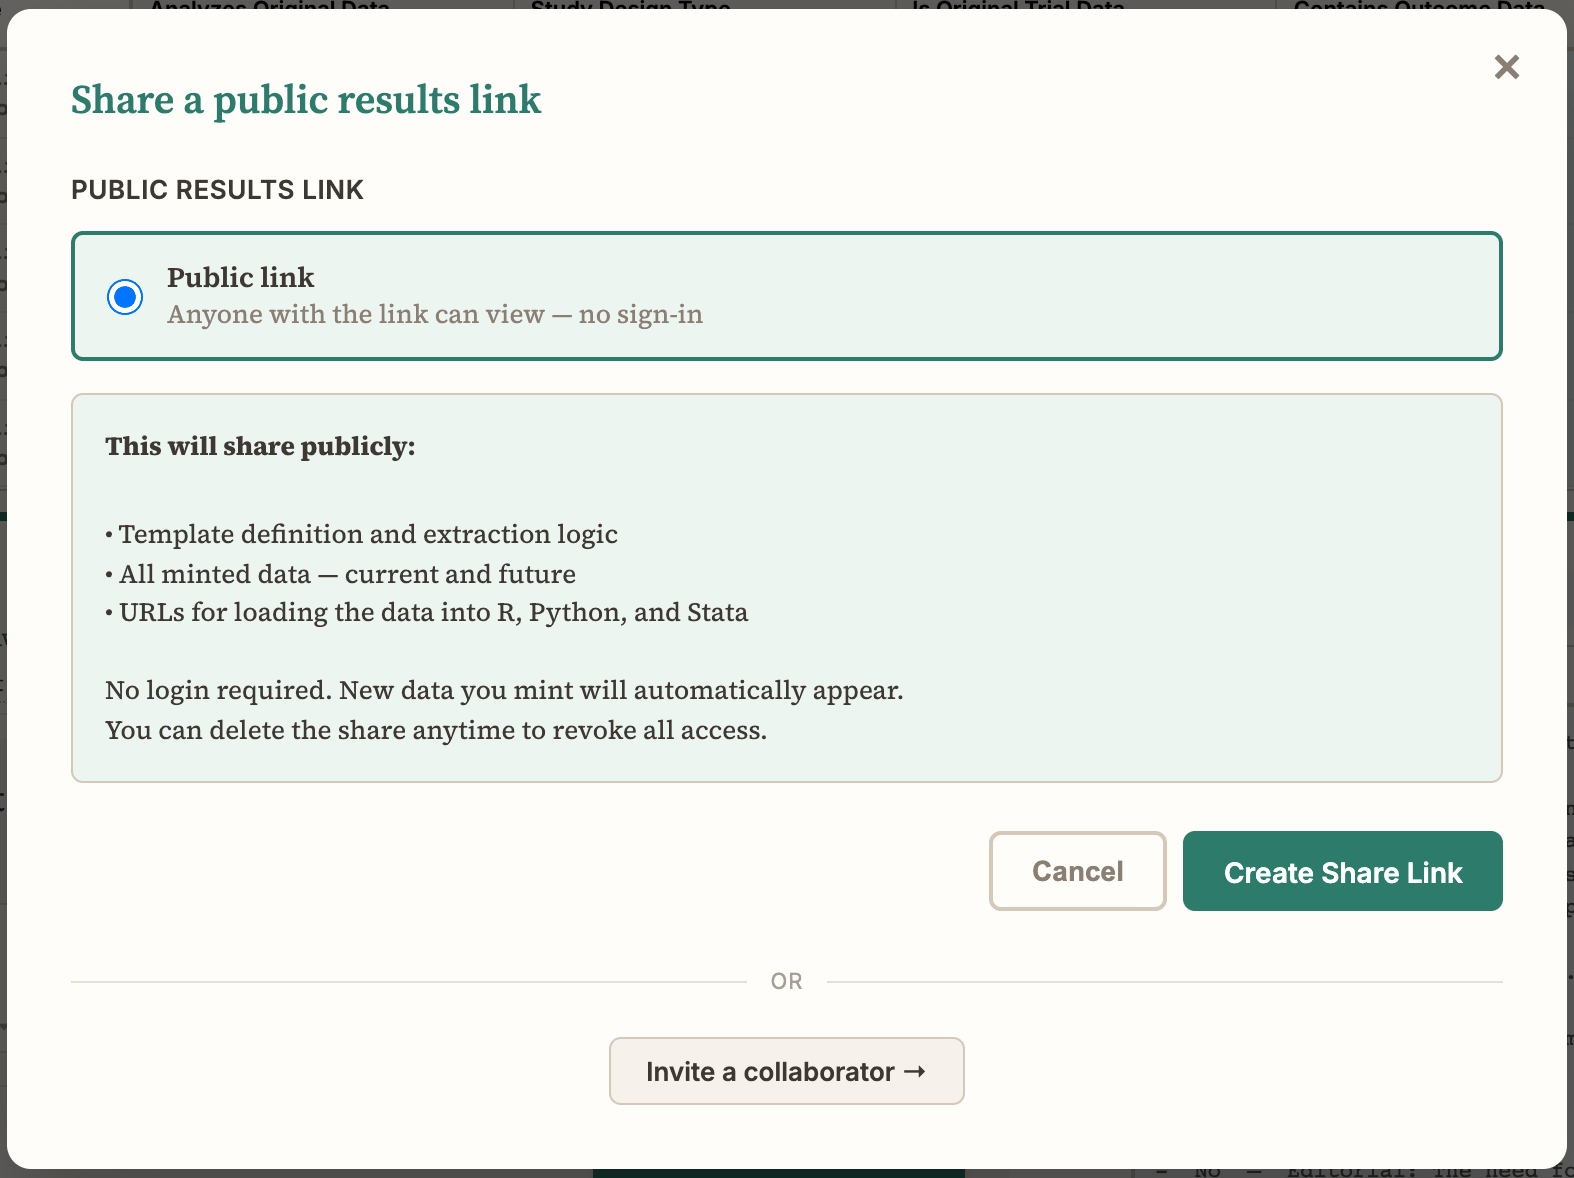
- On the inspection page, click Share.
- Click Create Share Link.
- Click Copy Link.
Anyone with the link sees the inspection page without signing in: every answer, the quotes, and the reasoning. The link does not open your documents. The same dialog lists data URLs that load the results into R, Python, or Stata. Put the link in a paper, so a reviewer can see the work behind each number.
To work on the project with a colleague, click Invite a collaborator → in the same dialog. A collaborator sees the documents and codebooks, and can resolve disagreements with you. A collaborator cannot spend your mints.
Help
The FAQ covers what people run into the first time through. For anything else, write to karl@datamint.ing.